Saturday, May 22, 2010

Ode to Clapton

I spent the day on filling orders for folks. This is the first of a few orders I completed. This card is for my god-sister to give my godfather. I was asked to create something that my pop would like and this is what I came up with. By the way, my pop loves it.

I mounted the card with Chantilly cardstock and then went through a few of my dad's Guitar Player magazines. I found sheet music for Eric Clapton's Layla and some blues cords and scanned them. Printed on heavy cardstock, I then stained the Layla sheet music with a tea bag and sponged the blues cords sheet music with a brown stamping pad. I adhered the the blues cord sheet music with glue and then machine stitched it to the base of the card. I also machine stitched the first bars of the Layla sheet music to the card. I printed out the greeting tag and adhered it to the card with glue tape. The card is embellished with gold brads.

Materials Used
Acid Free White Card Stock

Bazzill Basics Paper - Chantilly
Sheet Music
Tea Bag
Brown Stamp Pad
Gold Brads

Thursday, May 20, 2010

Summer Solstice Sunflower Card Set

A friend from high school asked me to create some Summer Solstice cards for her fellow wiccans using sunflowers. I love sunflowers. They are my favorite flower and I have a huge collection of sunflower stamps.
I wanted to keep the design simple but elegant with. After spending an hour playing around with my stamp images, I came up with the design pictured.

The card was made using heavy white card stock. I layered the front of the card with
Bazzill Basics Paper Cream Paper and this very cool olive green cream flower embossed decorative paper. I machine stitched the sides of the decorative paper to the base of the card using cream thread and added clear yellow buttons to the corners using some heavy brownish-gold packaging thread that I got at Flax's a few weeks ago.

For the sunflower, I stamped the image 3 times on white card stock using cream stamping ink. I cut out the main image and then cut out the flower portion of the image twice. The two flower portions of the sunflower are layered using mounting tape. I colored the sunflowers with yellow, brown, tan, and orange markers. For the center of the flower, I added gold micro beads. Once the sunflower was dry, I glued the image to the center of the card


The "Summer Solstice Greetings" tag was printed on heavy white card stock using a cool Celtic font that I had downloaded for my St. Patrick's day cards. I brushed the tag with orange and gold stamp pads.

The inside of the cards (which have been left blank) are cream and have been sponged with gold stamping ink.

Materials Used
Acid Free White Card Stock

Olive Green Cream Flower Embossed Decorative Paper
Sunflower Stamp
Cream, Gold, and Light Orange Stamp Pads
Clear Yellow Buttons
Brownish-Gold Packing Thread
Gold Photo Turns
Yellow, Brown, Tan, & Orange Markers
Machine Stitching

Sunday, May 16, 2010

Flower Power

I can't tell you how much I love TV. My favorite show is Lost but I'm up for anything (except for reality tv). After watching some old episodes of the Brady Bunch, I wanted to do something creative with flowers and windows. So this is what I came up with.

The base of the card is white card stock. I layered the card with some burgundy card stock. I next cut out small squares of decorative flower card stock that I had from a paper kit and some plain off-white and pink card stock. I folded the off-white and pink card stock in half to form the windows. I painted the edges of the windows with some burgundy acyrillic paint and added iridescent glitter to the front of the window to give it some 70's feel. After everything was dried, I mounted the two small flower decorative paper and windows on different shade of burgundy paper and attached the windows using gold photo turns.

For the middle of the card, I broke out the cricut and cut multiple flowers in various shades from the Walk in My Garden cartridge. I attached the two outer flowers with a gold brad and the two center flowers were attached with glue on a strip of yellow based flower decorative paper. I added some decorative beads in the center of the two flower for some added effect.

I next embellished the card with yellow ribbon, decorative beads, and some multi-colored fibers (which I attached to the decorative flower paper). When you turn the photo turns, you will see that I added two pop-up flower stickers. As with all my cards, I also decorated the inside of the card to match the front.


Materials Used

Acid Free White Card Stock

Decorative Flower Card Stock
2 Shades of Burgundy Card Stock
Pink and Tan Card Stock
Flower Images from Cricut Walk In My Garden Cartridge
Gold Photo Turns
Pop-Up Flower Stickers
Gold Brads

Purple Beads
Yellow Ribbon and Multi-Colored Fibers

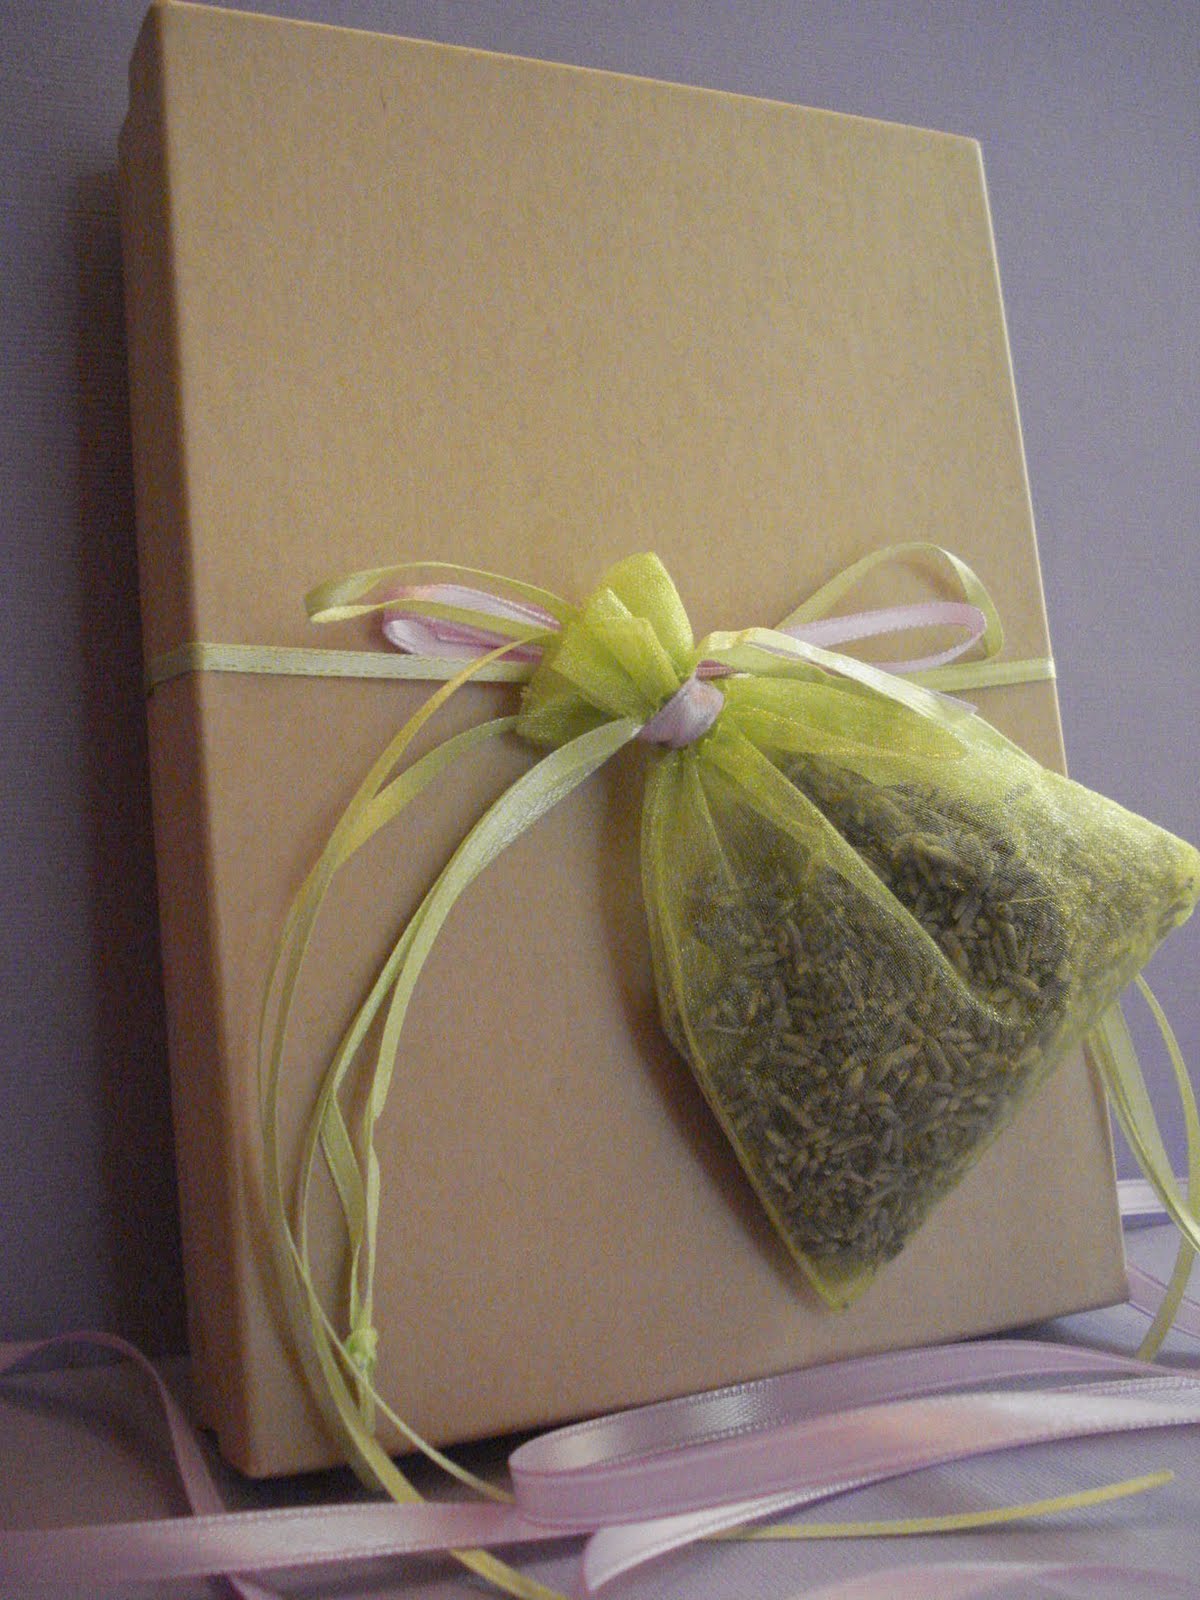
Lavender Shaker Note Card(s)


I love the smell of lavender. I keep lavender in my dresser drawers. I thought it would be cool to make a shaker card. I ran across some Rossler Papier sage photo cards at Flax that were perfect for what I was thinking about. I was just going to buy one, but thought that the card idea would be great for a set of note cards.
 
The card is a double-fold and perfect for shaker cards. It already had an oval cut out so no extra work involved. First, I cut out some transparent paper and attached it to the back of the first tri-fold of the card placing it over the oval cut out. I then sprinkled the organic dried lavender over the transparent paper. 

Using mounting tape, I then proceeded to mount Sage Bazzill Basics Paper over the dried lavender. I sealed the first fold over the card to give the lavender a little more security. For the front of the card, I heat embossed a decorative stamp image and added black and gold brads and accented the card with purple ribbon. I scraped the edges of the card to add a bit of texture. 

Materials Used:
Rossler Papier Sage Photo Card

Bazzill Basics Paper - Sage
Decorative Stamp & Pirate Gold Stampendous Embossing Powder
Purple Ribbon
Black and Gold Flower Shaped Brads

Sunday, April 18, 2010

Beth's Baby Shower Card


I spent much of the weekend working on the invitation design for my friend Beth's Baby Shower which I am hosting with our friends Esther and Karina. I'm so excited to meet the new addition to the Lane family. Beth and Geoff's son Aidan is one of the sweetest kids you will every meet. That towheaded kid melts my heart. I know Baby XX Lane is going to do the exact same thing to my heart. 

The Lane's are a great family and a great set of friends that I am happy to include in my extended family. That being said, I wanted to do something special for Beth's invitation.

Before I start talking about the design I came up with, let's talk a little bit about Baby Shower Invitations. It seems that the Baby Shower Invitation market is flooded with an array of pink and blue themes. Don't get me wrong, I like pink and blue...but come on...there are so many other colors out there that you can choose from. Many of the themes of these invitations look like one is throwing a child's birthday party. Baby showers are for the expectant parents....who are adults...not 5 year-olds. I prefer a more elegant, sophisticated design. Don't even get me started on the party themes and favors. That will be saved for a later post.


Invitation Design


I wanted to do something a little different than the classic card opening. I was on the
Stampers Pad Tutorial site a few months ago and remembered seeing a tutorial for a Simple Slide Card. I love the Stampers Pad Tutorial site. I recommend anyone interested in stamping checking out the site. It is a great place for beginners and novices. I was thinking that these slider cards would be great for Halloween Cards (which I think will be my theme for 2010). So slider invitations it was.

Now for colors...I love the way greens and purples look together; especially when accented with gold. I had purchased a "Baby" stamp and another stamp that I wanted to use for the invitations last weekend. Yes there was going to be some heat embossing. 

There are several layers on the invitation. I started off with cutting 2 pieces of white card stock to serve as my base. For the first layer, I choose a purple cardstock from Recollections Card Stock for the front and back of the card. These are great for acting as a base for cards because they are very thick. They are pretty plain so I usually jazz them up with some sponge painting. I used the Bazzill Basics Paper Guacamole for the second layer (cut 7"x7"). For the third layer, I wanted to use a designer paper. I went to Micheal's (evil..evil..place) and came across My Mind's Eye paper from 20th Street Market. It was perfect and went with the green and purple theme. I cut one piece a little smaller than the the second layer. Bazzill Basics Paper Lily was used for the fourth layer (cut 6"x6"). I sponge painted some gold streaks on the Lily paper to give it a little color and texture and painted the edges to add some depth.

To accent the fact that this was a baby shower invitation I decided to add some simple tags to the design using the Purple Recollections Card Stock and Bazzill Guacamole Basics Paper cut at 41/2"x3". I used the Bazzill Wild Pansy Paper (cut at 31/2"x2) for the center of the card. I painted the edges of the three tags using some antique gold paint and heat embossed the "Baby" stamp image using gold embossing powder. I accented the card with antique gold beads.

Once I was done with the front of the card, I assembled the front and back of the cards by attaching double sided tape to three sides of the card leaving the side of the card that I wanted the announcement tag to slide from open. Once assembled, I painted the sides of the card using the the same antique gold paint I used for the tags. I punched a hole in the opening side of the card and cut a piece of light purple and sage green ribbon to serve as the "pulley." 

For the tag announcement, I created a tag and used a stamp image heat embossed with gold embossing powder.  I found the font from Urban Fonts for the announcement and accented the announcement tag with a strip of My Mind's Eye paper.

Saturday, April 17, 2010

Mother's Day Cards

So...I have gotten my creative juices running for Mother's Day. I was getting out of my car in the lot at work and making my drowsy way up the flight of stairs to begin the much dreaded gathering of my quarterly statistics, when I noticed a butterfly on one of the tree branches. It was weird because I rarely see butterflies this time of the year.
I love butterflies (probably as much as Mariah Carey) and have used a butterfly motif in many of the cards that I have given friends. In the past, I have tried to add dimension to the butterflies and they have turned out fine (my friends like them).....but I wanted a little something different. Something fresh. Then I remembered my mom's Spring Wreath. She has made wreaths for every season. Her Spring Wreath had these fabric butterflies that added a lot of dimension and flight. I knew I wanted to start my etsy store and what a perfect time with Mother's Day just around the corner. So...off to Beverley's Fabrics I went (of course after putting in a long day of crunching numbers).
I came across these pink and orange butterflies that I knew would be perfect for the cards I had in mind. I also wanted the butterfly to sit on a branch. I was thinking using a real tree branch (of course smaller in scale) but was concerned that it wouldn't hold up in the mail. Thank the Gods for Cricut. One of my better purchases. I had used the Cricut Winter Woodland cartridge while making my Christmas cards this past year. The cartridge has a great tree branch image that would be perfect for the card (cardstock is a little sturdier than actual tree parts.)
I have been doing a lot of heat embossing lately and can't seem to stop myself from purchasing a new stamp every couple of weeks. Of course I had to get a new mother's day stamp. The stamp (pictured above) is from inkadinado. It's the perfect size for making a tag and the perfect image for heat embossing. As you heat embossers know, the more detail the stamp has can sometimes lead to a messy looking image.
The first of the two butterfly cards I made was the one with the orange butterfly. At first I was happy with the card, but after sitting on it for a while...I thought it needed a little more pop. I love adding beads to my cards (which initially I had added some on the the tree branch and the flowered paper) because I really like the detail that it adds to the cards.
I decided that the "Happy Mother's Day" tag needed a little more dimension. I decided to add some more beads to the tag. I think the flower shapes I created with the beads gives the entire card a better look. I am much happier with the final product (second card pictured).
Just a little bit about the card: The front of the card is double layered with Brazzill Basics Cream Paper and a very pretty orange flower paper I picked up at Beverley's. I added the branch cut out from the Cricut cartridge Winter Woodlands using a heavy gold paper and added pink beads to the the leaves section of the branch and orange beads to the centers of the flowers on the orange flower paper. The final tag is layered on the same flowered paper and cream paper used to make the card.
I accented the cream paper used for the tag with orange paint that I lightly brushed on to give it an antique feel. The tag is attached using cooper grommets. I added a piece of orange ribbon to the top of the card and used Martha Stewart's blade to fray the edges of the card and Martha Stewart Hibiscus stamp pad to add some color to the frayed edges.
I left the card black inside but like to add a little personal touch with coordinating paper and/or themes. As you can see in the third picture, the inside of the card turned out pretty cute. I love the orange ribbon accents.

Materials Used:
Acid Free White Card Stock
Bazzill Basics Paper: cream
Orange Flower Paper
Orange Craft Butterfly
Gold Tree Branch Image from Cricut Winter Woodland Cartridge
"Happy Mother's Day" stamp from inkandinado
Pirate Gold Stampendous Embossing Powder
Orange Ribbon & Pink and Orange Beads

My second card turned out great. I really like the pink and brown together. Just a little bit about the card: The front of the card is double layered with Brazzill Basics Tan Paper and a brown and pink stripe paper from the Jolie Paper Pad Chocolat collection. Using a heavy gold paper, I added the branch cut out from the Cricut cartridge Winter Woodlands and added pink beads to the the leaves section of the branch. The tag is layered on the same brown and pink stripe paper and Brazzill Basics Pink paper. I used Martha Stewart's Hibiscus stamp pad to add some color to the tag. The tag is accented with pink beads with a gold center making the decorations look like flowers. I topped the card off with a bow made with gold and pink ribbon.

Just like the orange butterfly card, I left the card black inside but like to add a little personal touch with coordinating paper and/or themes.
Materials Used
Acid Free White Card Stock
Bazzill Basics Paper: tan
Jolie Paper Pad Chocolat: brown and pink stripe
Pink Craft Butterfly
Gold Tree Branch Image from Cricut Winter Woodland Cartridge
"Happy Mother's Day" stamp from inkandinado
Pirate Gold Stampendous Embossing Powder
Tan & Pink Ribbon
Pink & Gold Beads

Friday, April 16, 2010

Greetings!

Greetings from Casa Gray!

So here I am blogging. I have finally "come out of closet" and have decided to give this blog thing a shot. Welcome to the modern age Missy. For the past year most of the things that I have to share have been done on Facebook. Although I love Facebook, I think that sometimes Facebook can be limited in sharing one of the things that brings a tremendous amount of joy and pleasure in my life: crafting.


Well let me begin by introducing myself. My name is Heather and I am the Family Support Coordinator for the Northern California/Northern Nevada Chapter of the Alzheimer's Association (http://www.alz.org/norcal/). My primary job responsibilities include coordinating and overseeing over 60 family dementia family caregiver support groups; facilitating two support groups for individuals diagnosed with Alzheimer's Disease; providing care consultation services for families living with the disease; and providing community and professional education. I am absolutely in love with my job and love the people I work for and the families I work with.


In my spare time (which is very limited), I love crafting. Specifically, making handmade cards. I have been making cards for many years now and just recently (after many suggestions) have decided to open up my own etsy shop. I don't know where it's going to go and what sales I will make, but I love a challenge and hope that one day it might actually be successful. I just recently took up sewing (which I will blog about). I love it as well...but making cards is my passion. I love sharing ideas and hope that I inspire some of you to break out those art supplies and get crafting.
Related Posts Plugin for WordPress, Blogger...